Easy Screenshot in Unity
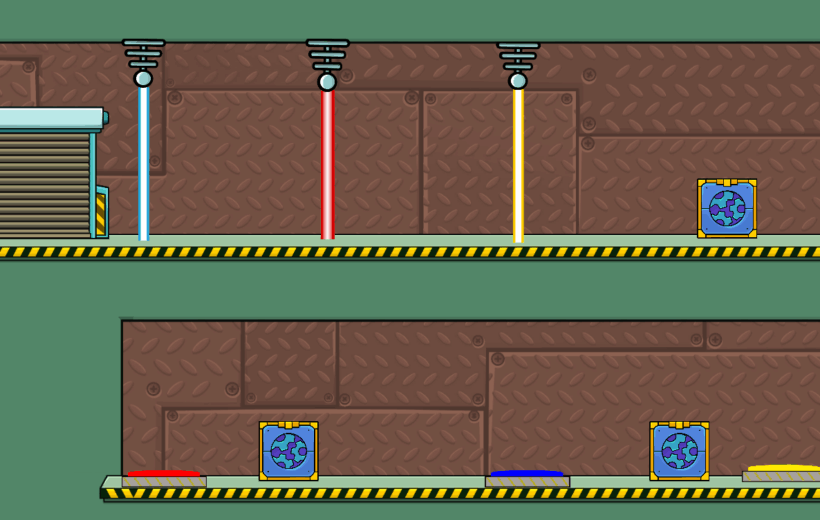
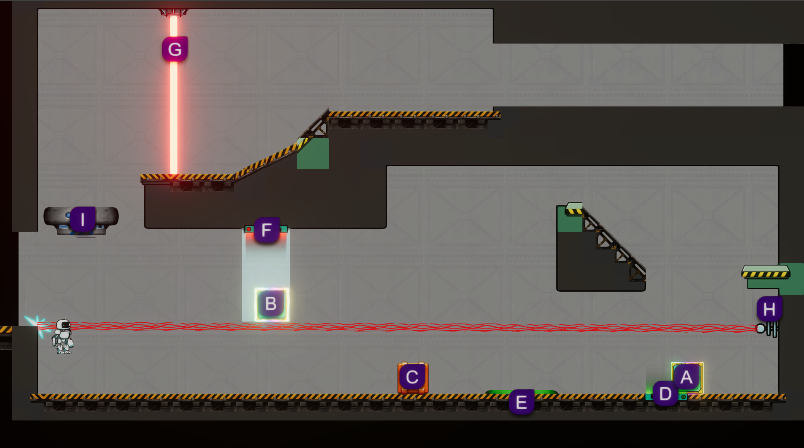
I recently created a Unity tool to help automate some admin in my game (namely generating easy-to-read solutions to my puzzles), and as part of this I needed to get screenshots. This post details a quick and easy way to get a screenshot of your game and save it as an image file in your […]